How I Make My YouTube Videos From Start To Finish

Read this article if you're looking for guidance to make YouTube videos.
The process I'm about to share is what I use to upload once per week after two years of uploading videos on the platform.
I'm going to reveal from start to finish how I:
- Title videos
- Write and edit scripts
- Record videos
- Edit videos
- Create thumbnails
Please note: this article is about how I MAKE videos, not how I CREATE video ideas.
(I will make a separate article regarding that topic.)
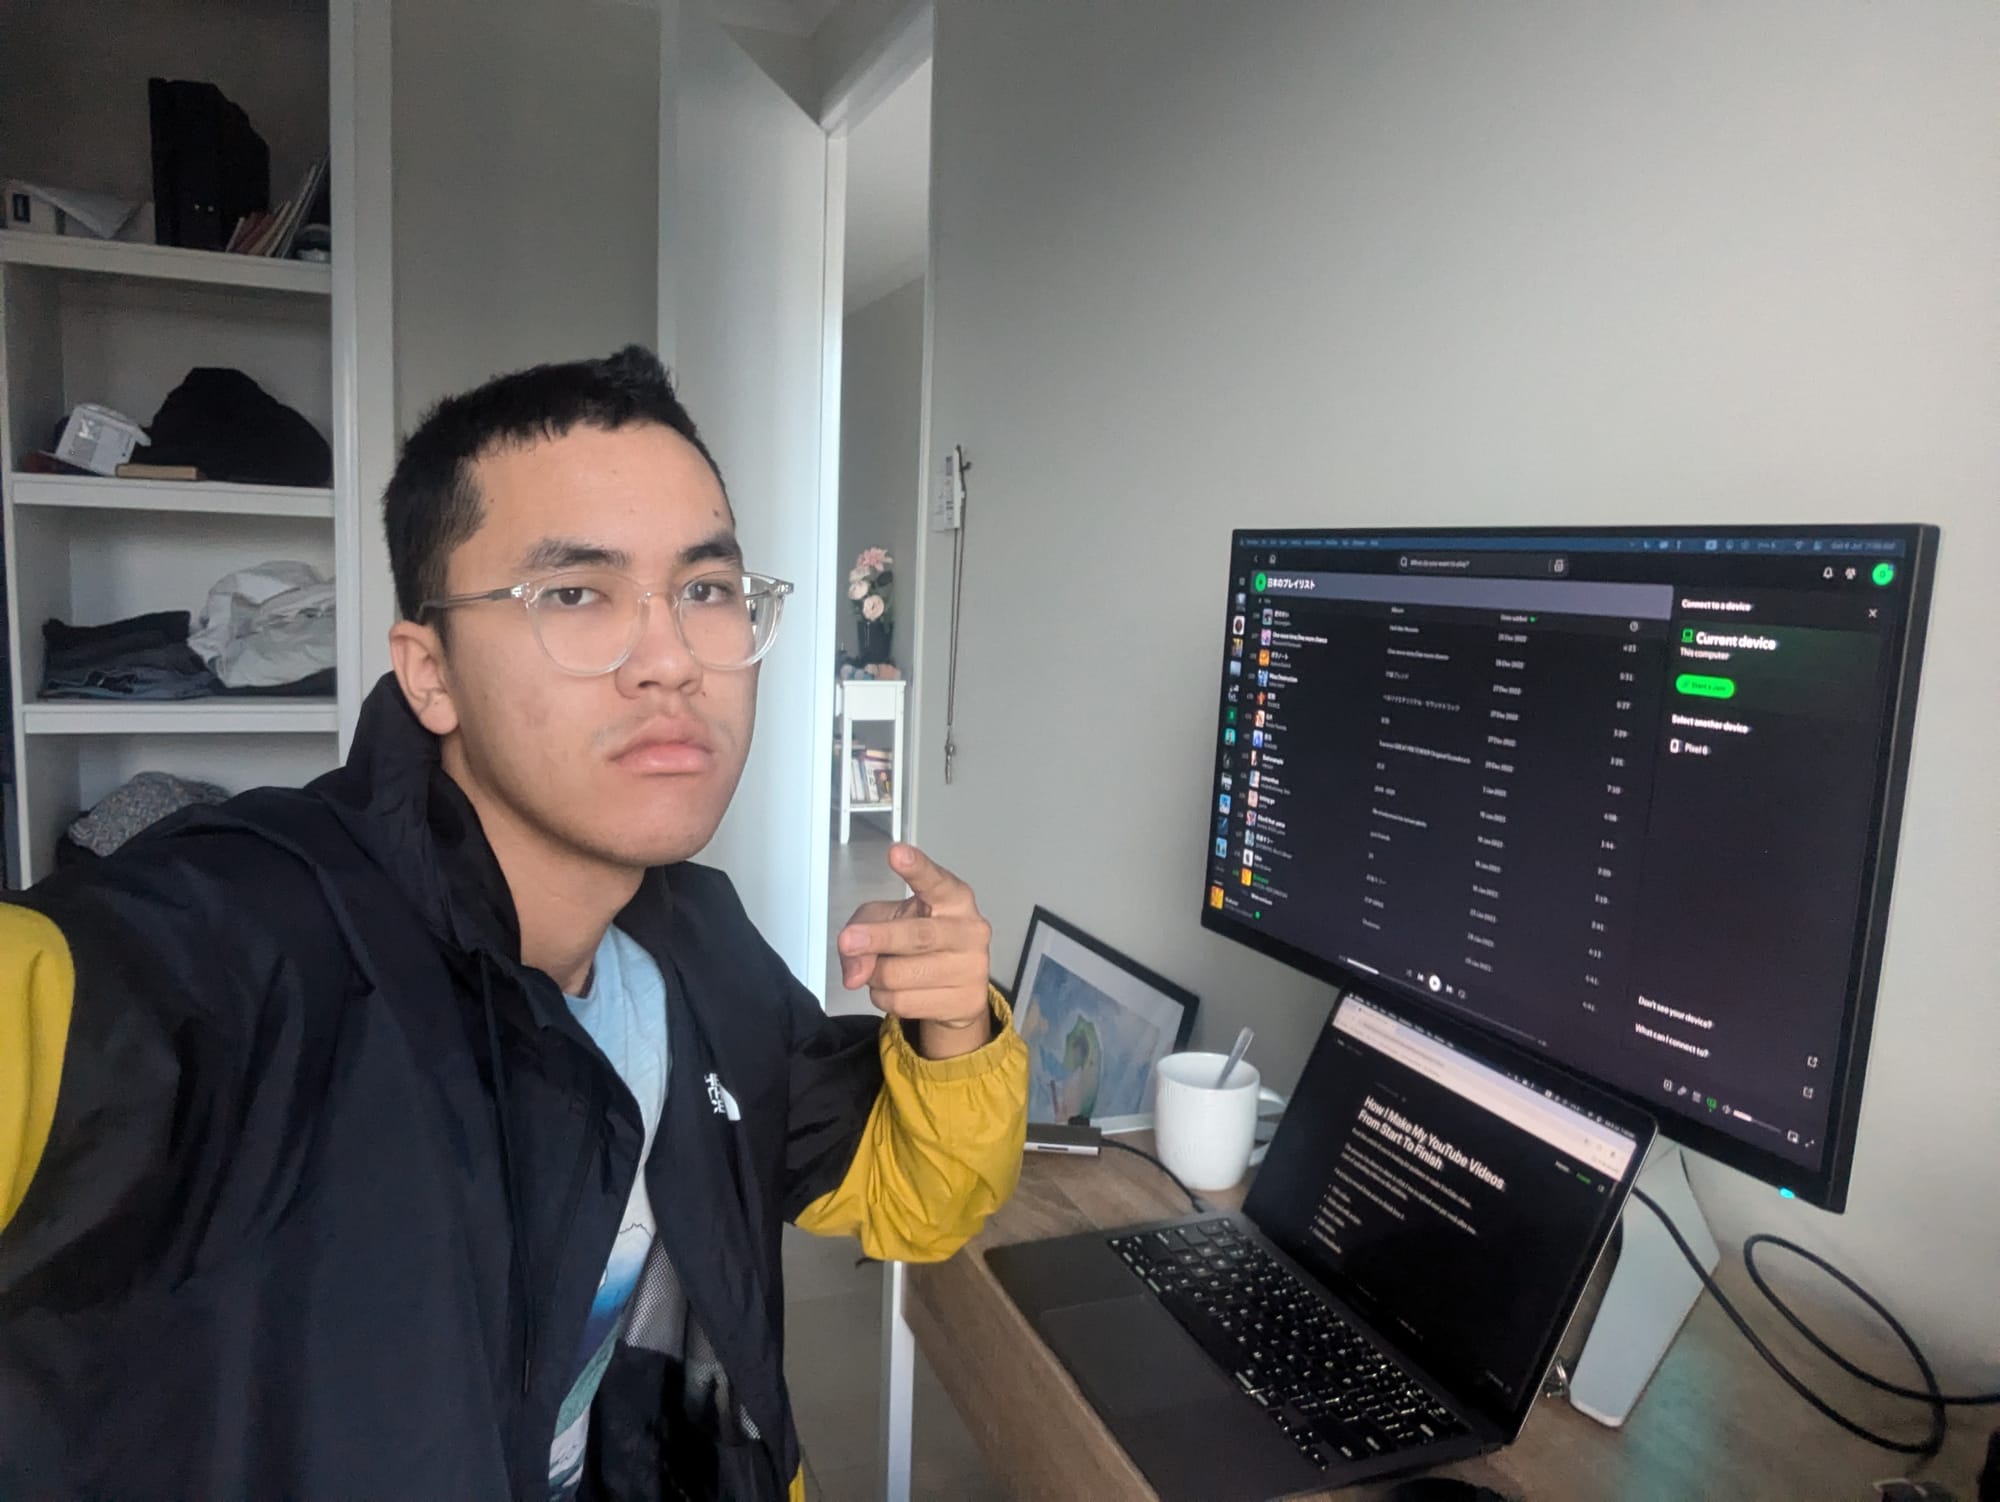
By the way, my name is Denzil Duke. I am a freelancer helping small businesses get more customers using digital marketing. I upload content and freelance to get experience. Eventually landing my first marketing role in Brisbane, Australia.
Lettuce begin...
Step #1: Start With The Title
I start with the title as it's one of the most important factors why someone will click your video.
You do not want to create the video, then try figure out what title to give it.
Which means, I create the content around the title, not the title around the content.
In terms of how I title my videos, here's a list of 6 prompts when writing my title:
- How To/How I...
- Should I...
- Why I...
- If...Then...
- Can I...
- 3 Ways...
The common pattern behind my titles revolve around two things: questions and curiosity.
Generally, if you're on the YouTube platform, people are looking for video tutorials. When we use the search bar, we treat it like if we're looking stuff up on Google.
(I know! Google owning YouTube huh?)
With people searching in mind, the principle I follow to title my videos is quite simple:
"What you click, is what you get."
If I make a video called,
"How I Make YouTube Videos From Start To Finish"
The viewer wants to know how I make videos. And I will give them EXACTLY that.
And, for the love of God, do NOT clickbait.
Step #2: Write
Up until six months ago, I never wrote a script for my videos.
A big mistake...
I value my viewer's time. If I give them low effort content that is sloppy, they will click off. By doing the work upfront through writing, I can give them more value by being concise and make sense.
And, I use to write bullet points for videos. What ended up happening is going on tangents and repeating myself.
Until you have mastered improv, WRITE A SCRIPT.
What Should I use To Write My Script?
You can use a Google Doc for your scripting. However, I use Ghost.org. You might be asking yourself,
"What the hell is that?"
It's the platform I use to host my website and write articles. I don't know if most people know:
My article is the written version of my YouTube video.
(As marketers call it: content repurposing.)
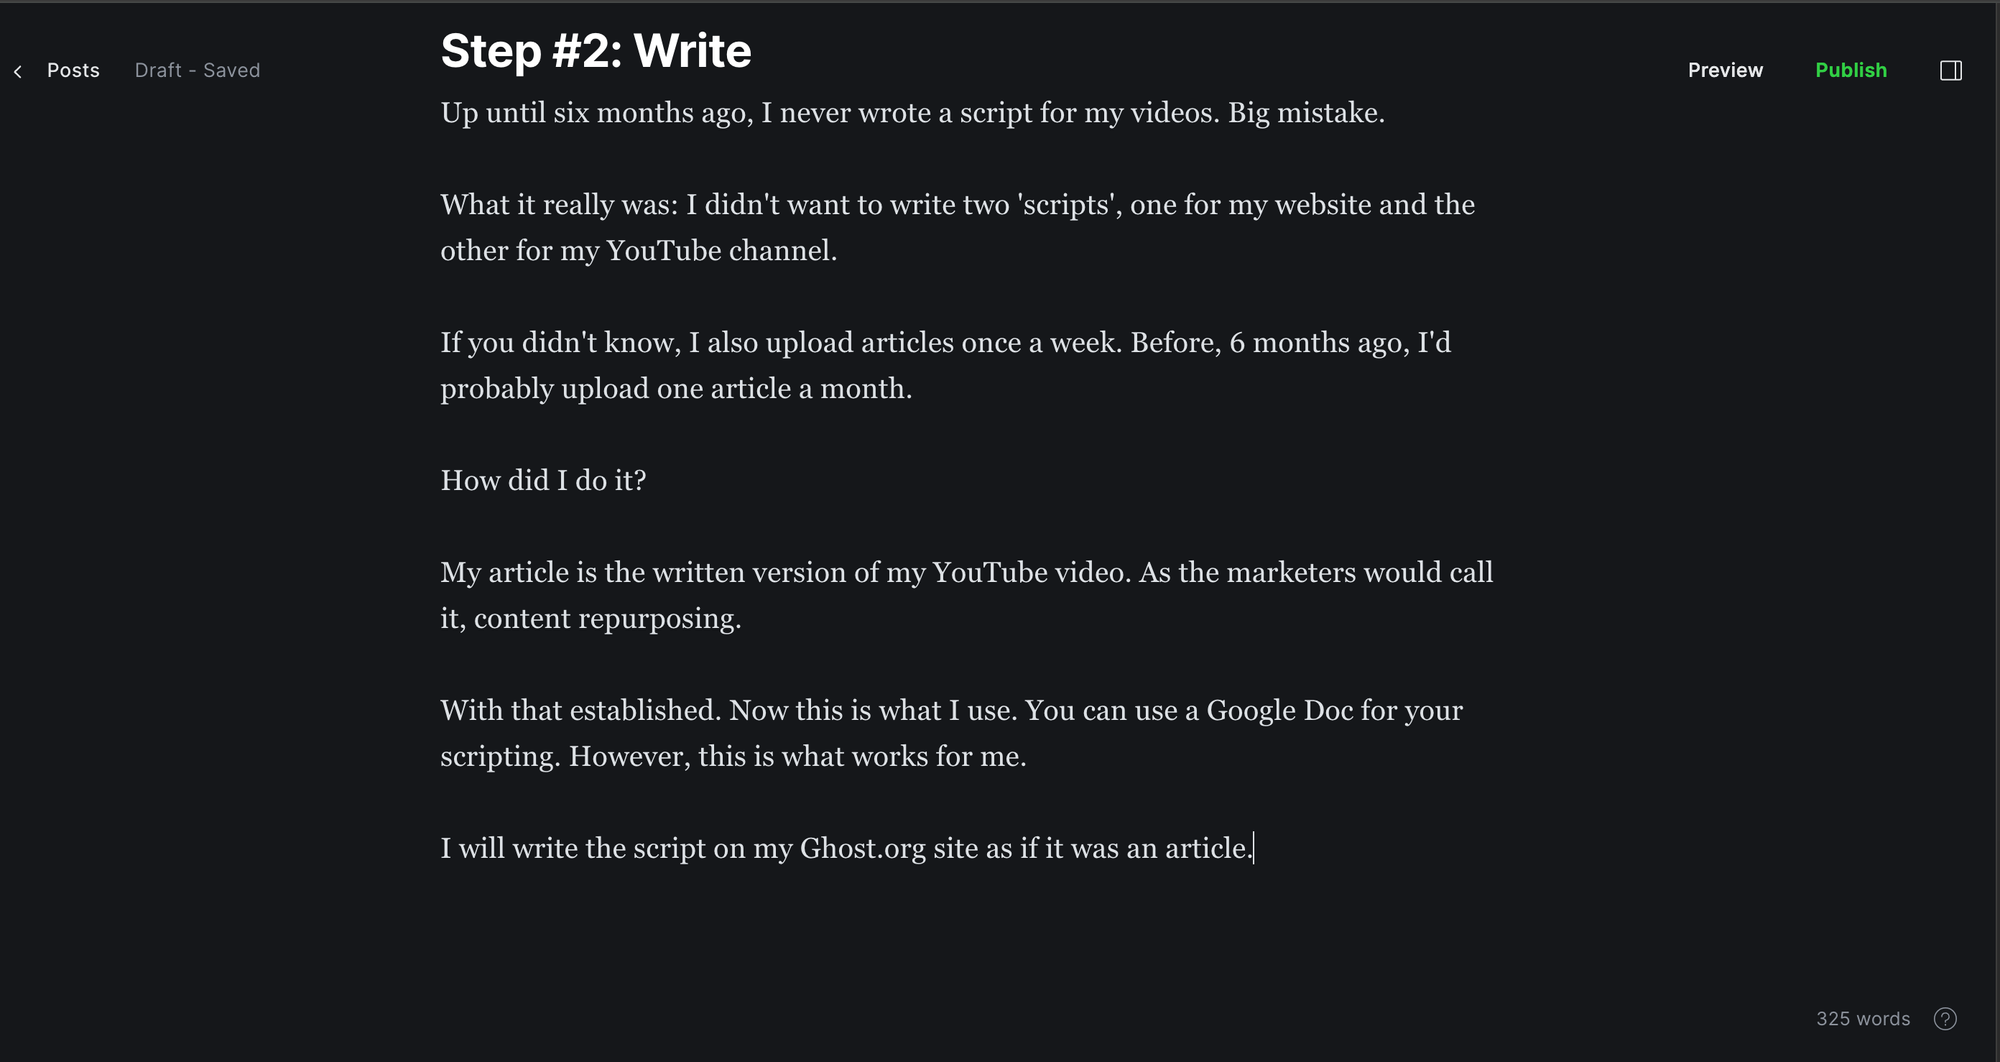
That means, instead of a writing on a Google Doc, I write the article directly on my Ghost.org site.
I like writing it as an article as it forces me to use subheadings that will transfer over to the YouTube video.
It's easier to consume an idea if it's broken into smaller ideas and uses sign posts.
How Long Do I Take To Write A Script?
It's a bit tough to quantify because I work on multiple scripts at the same time.
Throughout the whole week, I will work on one script, then switch to another. But, these will be done in spontaneous sessions.
My largest writing session happens the night before video recording. I'm trying to change this habit by waking up earlier and working on the script then.
But no matter what, because I give myself a deadline, I will get a script done for that week's video.
Step #3 Edit The Script
I always got B's in English class. No matter how many times I re-read my work, makes sense to me, but not to others. I changed that by graduating school, and using AI.
How I Use chatGPT To Edit My Scripts
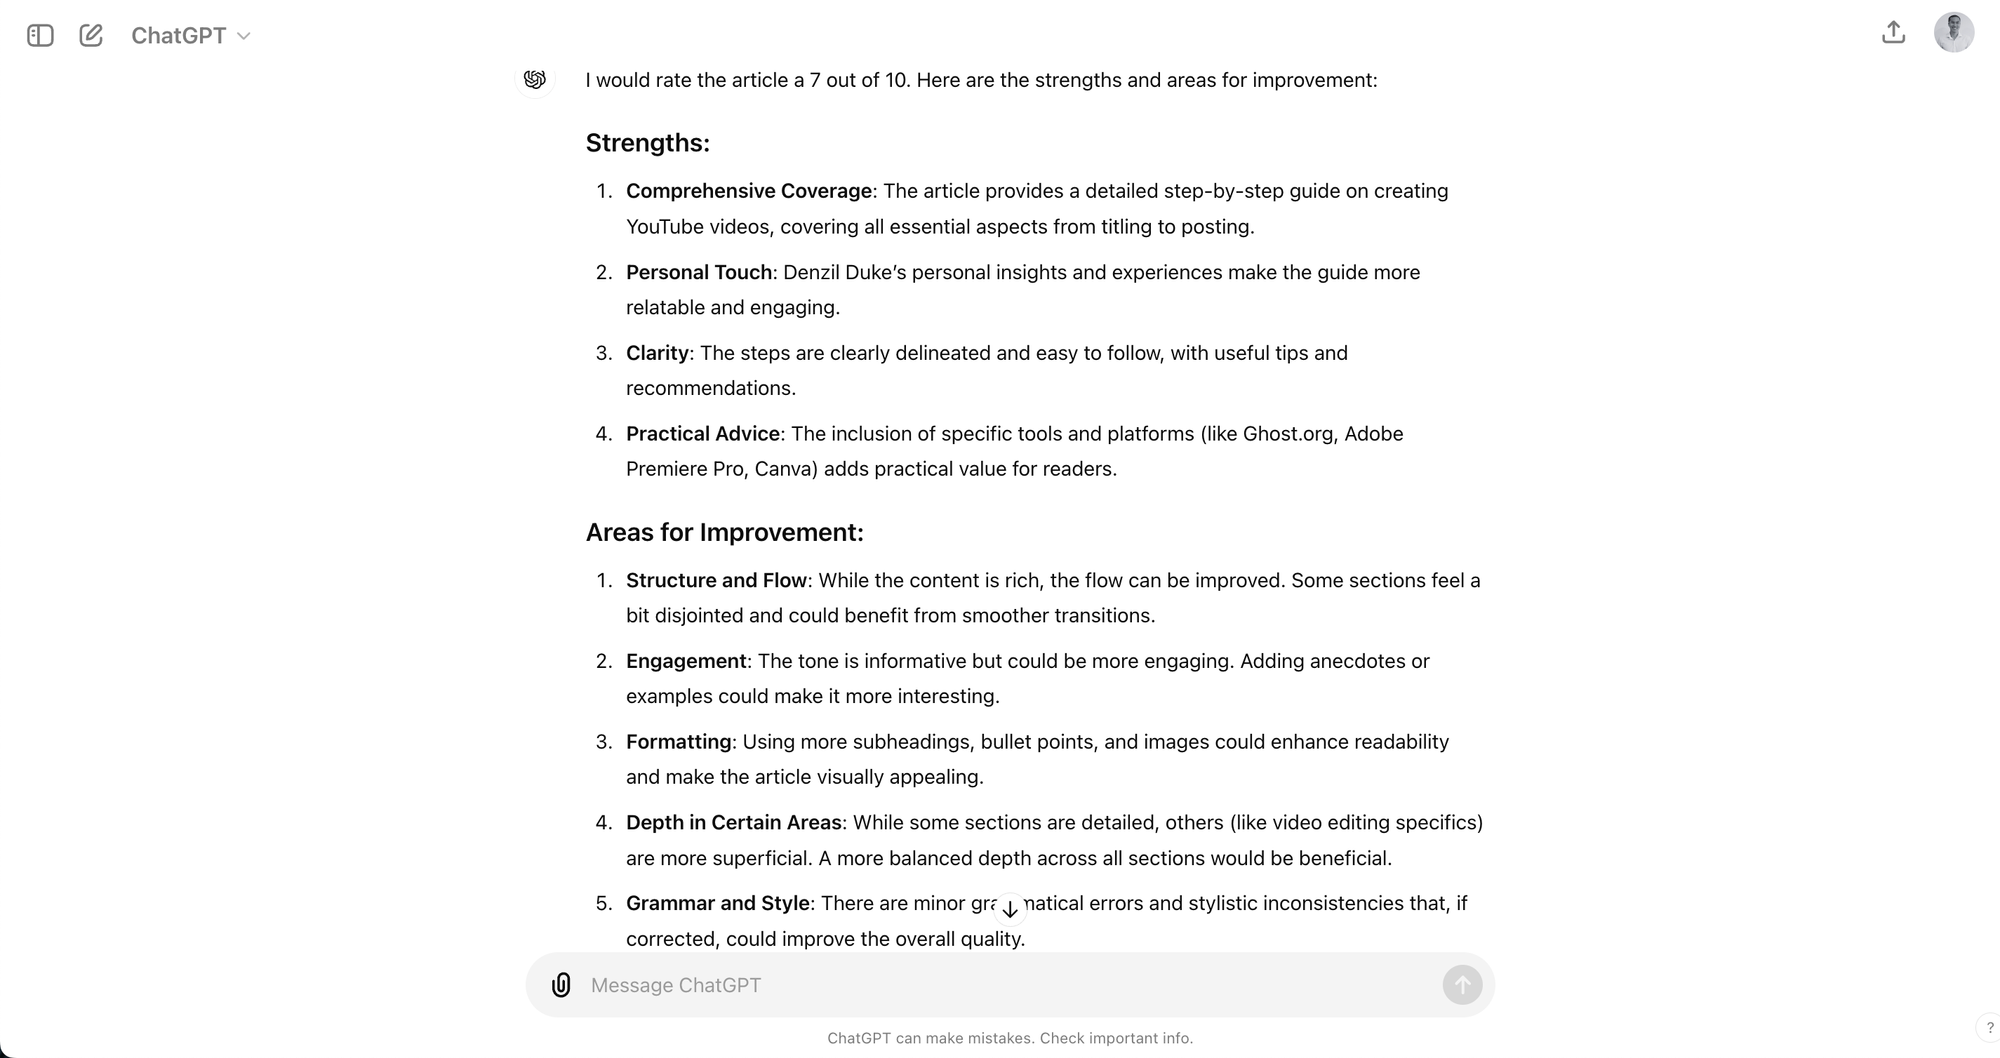
After I finish my first draft, I copy and paste the whole script into ChatGPT, then ask,
"Rate this article out of 10?"
What pops up is a breakdown of how to improve the article. Then, I'll edit the script with the considerations from the AI.
After I made a second draft, I will repeat the whole process again. I do this eventually until it says 8-9/10.
Note: I will not aim for 10/10. For fun, I copy and pasted some of my favourite writers. And the AI did not give them 10/10.
The point of using chatGPT is point out the blindspots of my writing:
- Where should I go more in depth?
- What sentences don't make sense?
- How to structure the writing better?
Grammar + Reading Level Check
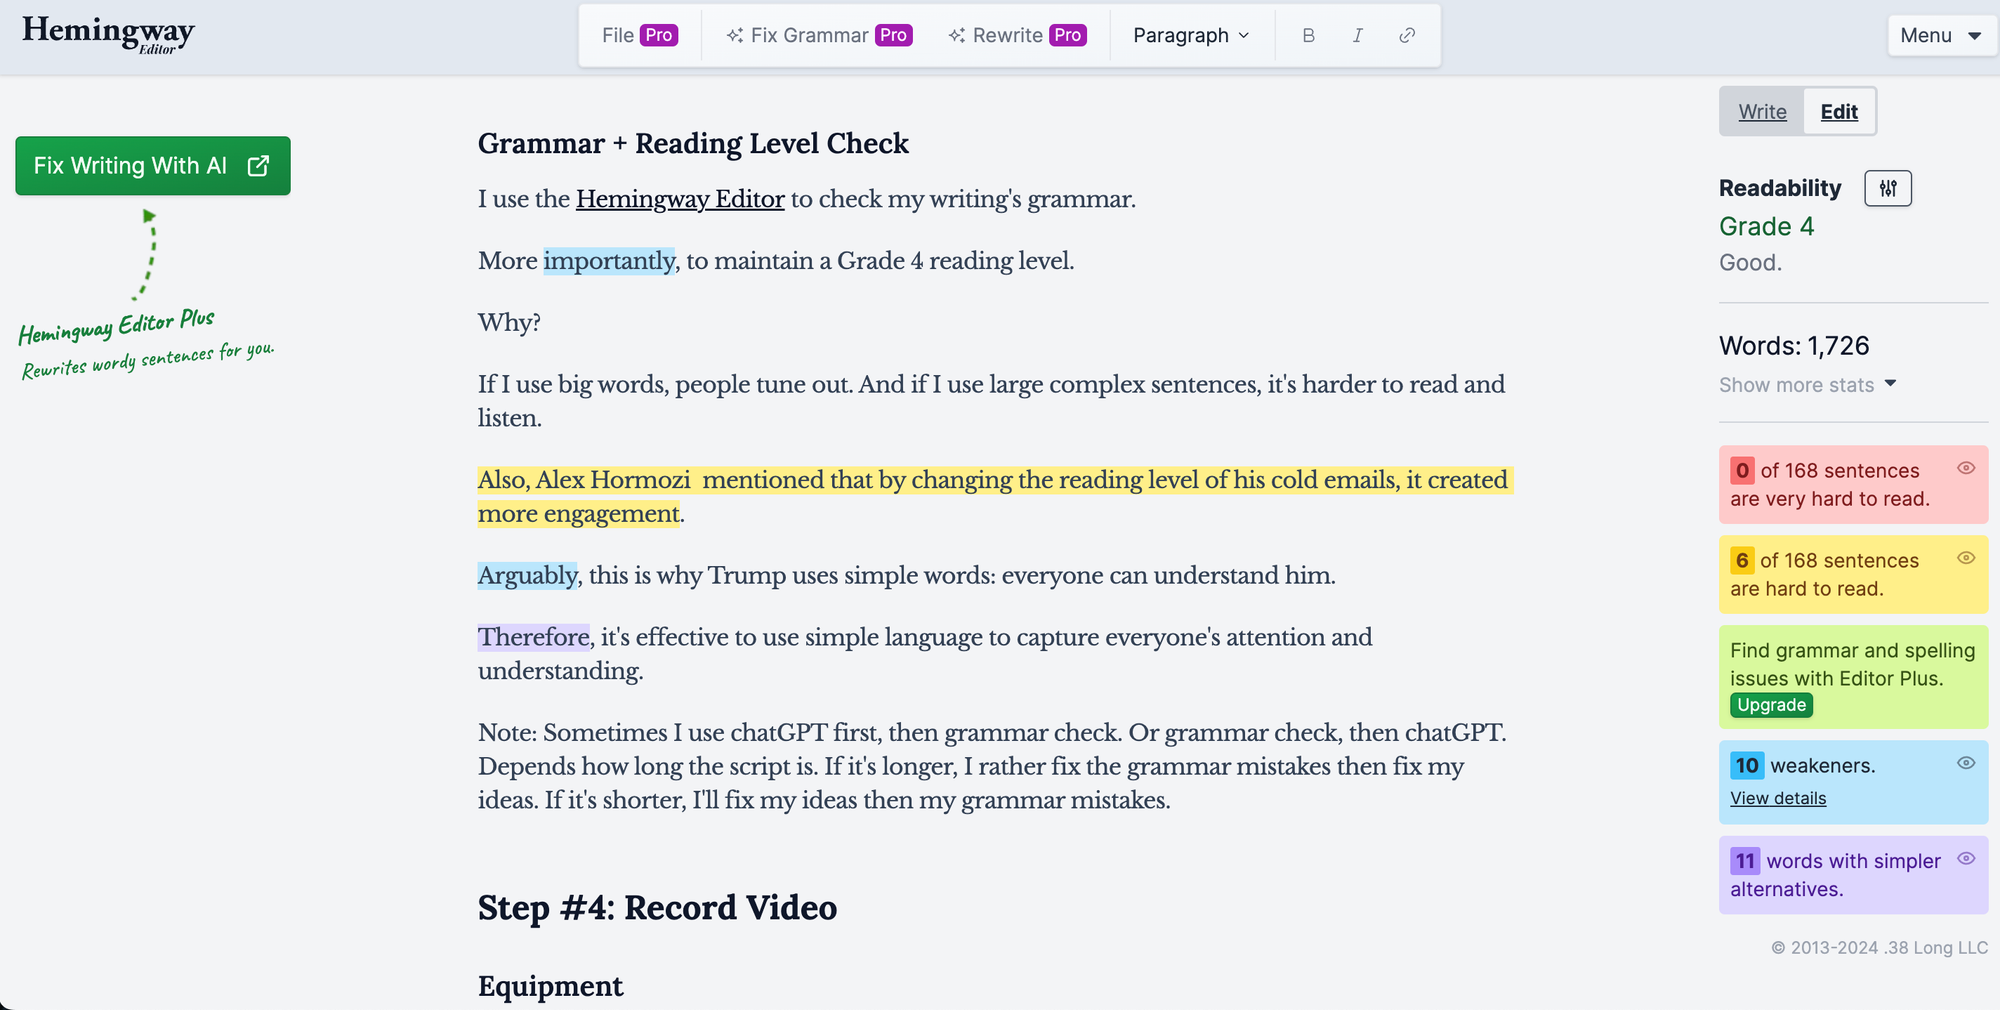
I use the Hemingway Editor to check my writing's grammar.
More importantly, I aim to maintain a Grade 3–4 reading level.
Why?
If I use big words, people tune out. And if I use large complex sentences, it's harder to read and listen.
Even Alex Hormozi, an entrepreneur I follow, changed the reading level of his emails. The result: more people clicked and converted.
Arguably, this is why Trump uses simple words: everyone can understand him. People like other people who can be understood without using too much brain power.
Therefore, using simple language is effective in capturing everyone's attention and understanding
Side Note About My Editing Process
Sometimes I use chatGPT first, then grammar check. Or grammar check, then chatGPT. Depends how long the script is. If it's longer, I rather fix the grammar mistakes then fix my ideas. If it's shorter, I'll fix my ideas then my grammar mistakes.
Step #4: Record Video
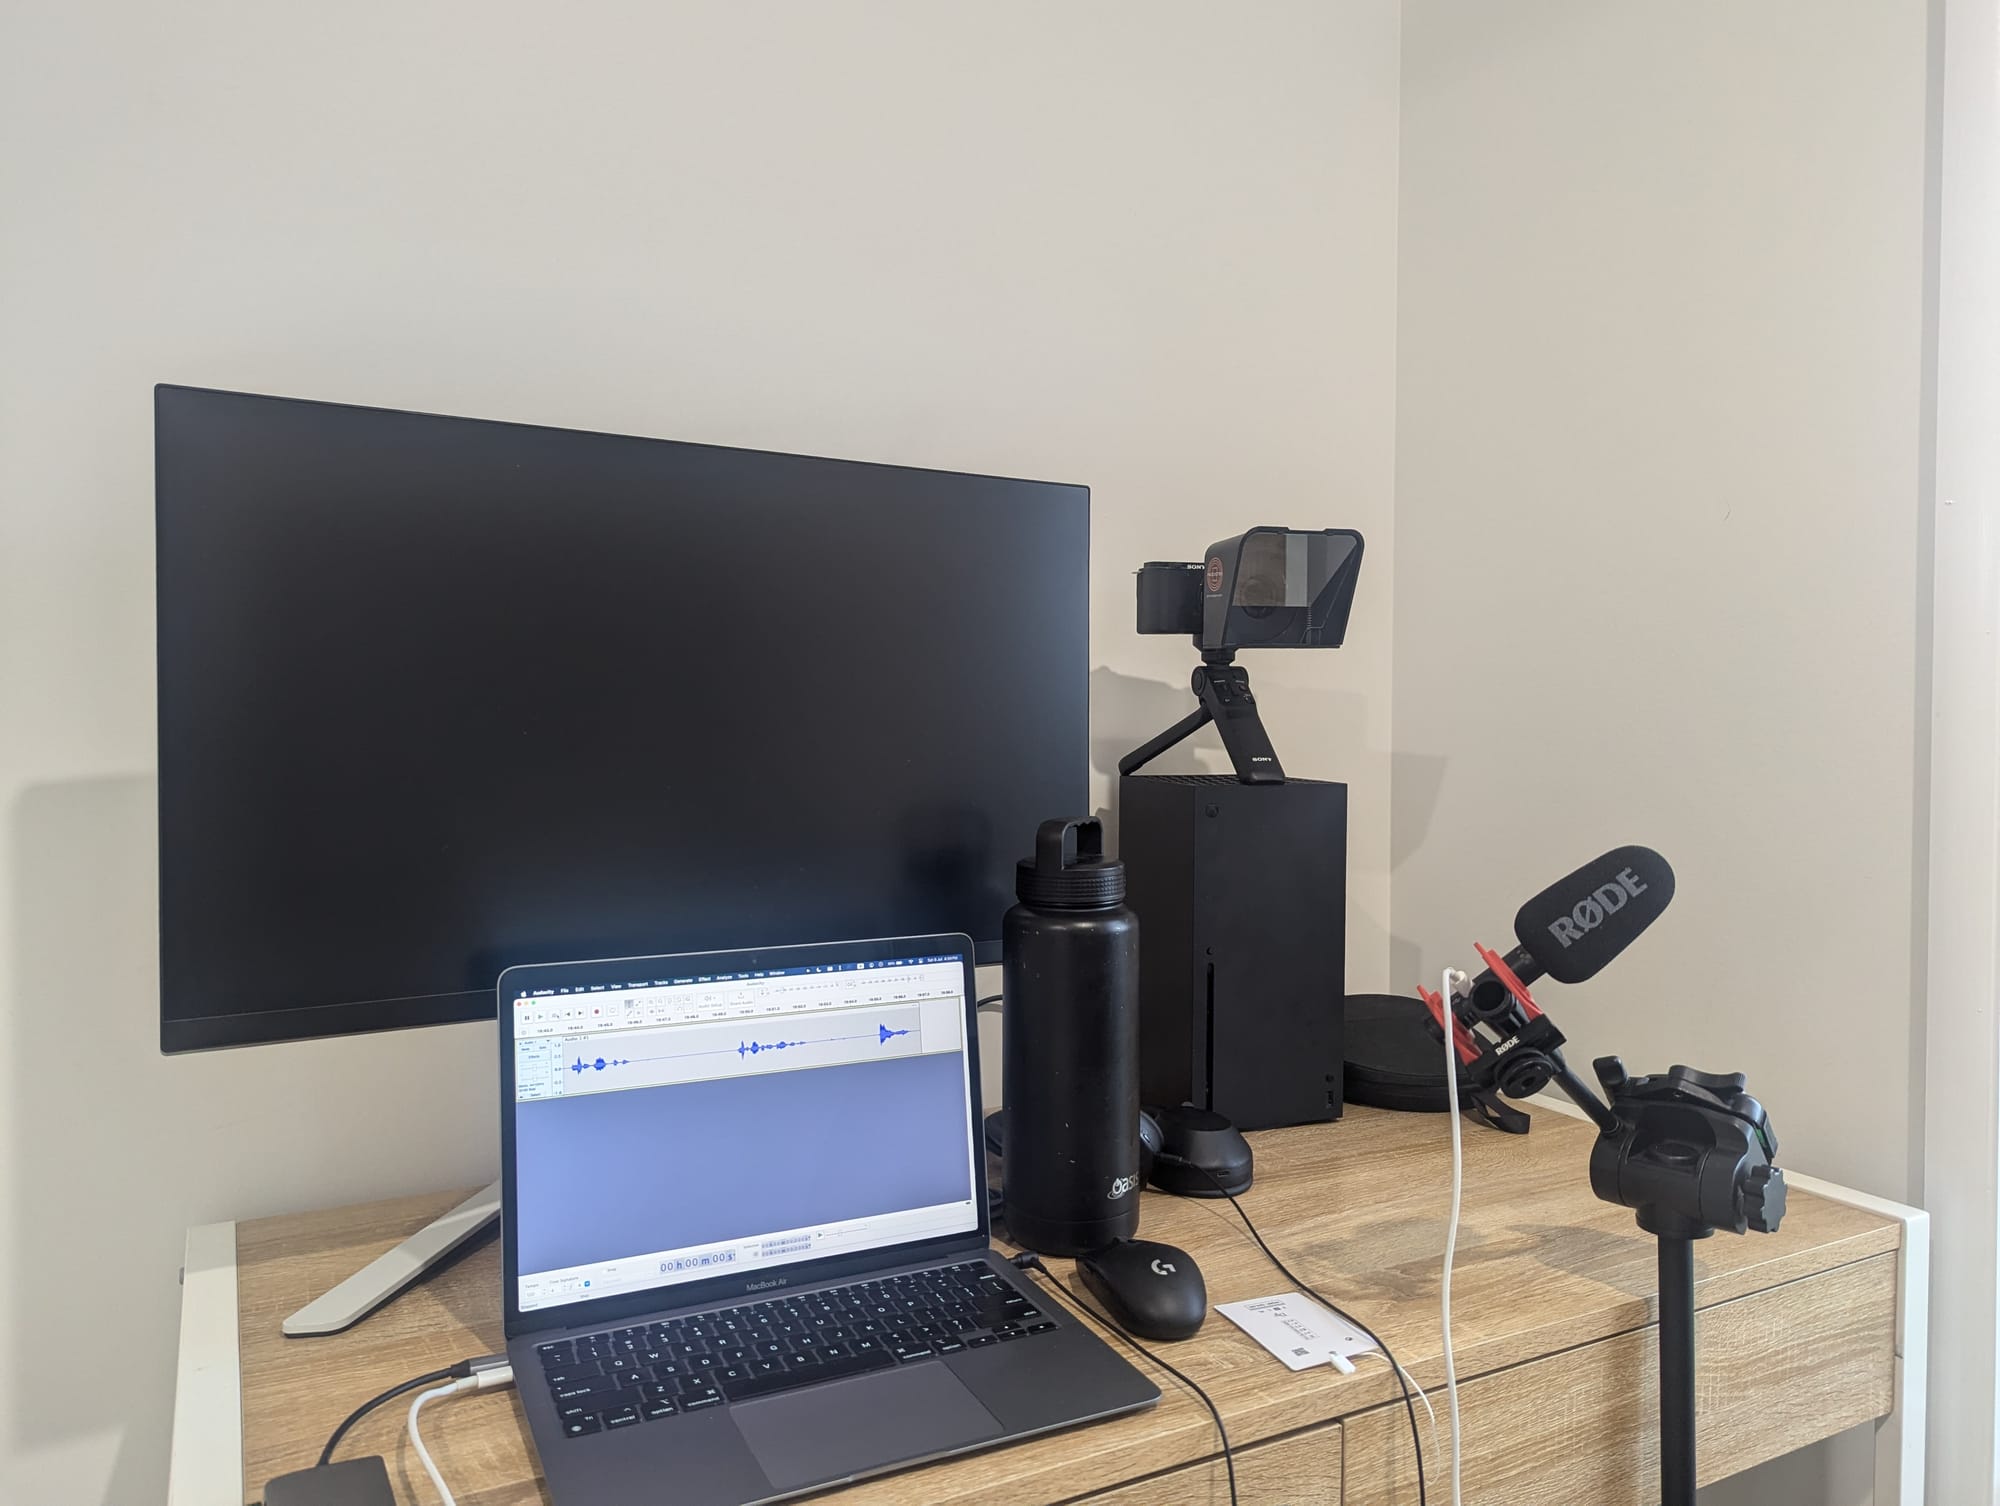
Equipment
These are the four important things I use to record video:
- External microphone: Rode Videomic Go II
- Camera: Sony ZV-E10
- Teleprompter: Padcaster Parrot Teleprompter V2 Kit
- Laptop: M1 Macbook Air
Fun fact, people care about audio > video. That is why I use an external microphone. For better sounding audio, run the external microphone through Audacity on your laptop.
When recording, I position the camera so I'm in the center and the lens is at eye level. I usually ensure my video background has depth so I pop out as the main subject.
For lighting, I use natural lighting from the window and my room's lights
The camera's settings I switch to is manual exposure. If it's on auto, the video lighting will change throughout the video . Therefore, I tweak the exposure before I record so it doesn't look dark.
(If you don't know what that means, I don't either. I probably should if I'm recording video.)
Of course, I don't have photographic memory. I don't want to cut the video every time I look down at my script.
That is why I use a teleprompter.
Recording It
I tend to record once a week all my videos after work on a Saturday.
I'll get the equipment set up, sit down and hit record.
In terms of time, my videos take about half an hour to record. I don't make as many mistakes because I read the script off a teleprompter. However, I will re-record some lines if the pacing, pitch, or emphasis sounds off.
In general though, by doing most of the work up front through scripting, I save time in the backend of recording.
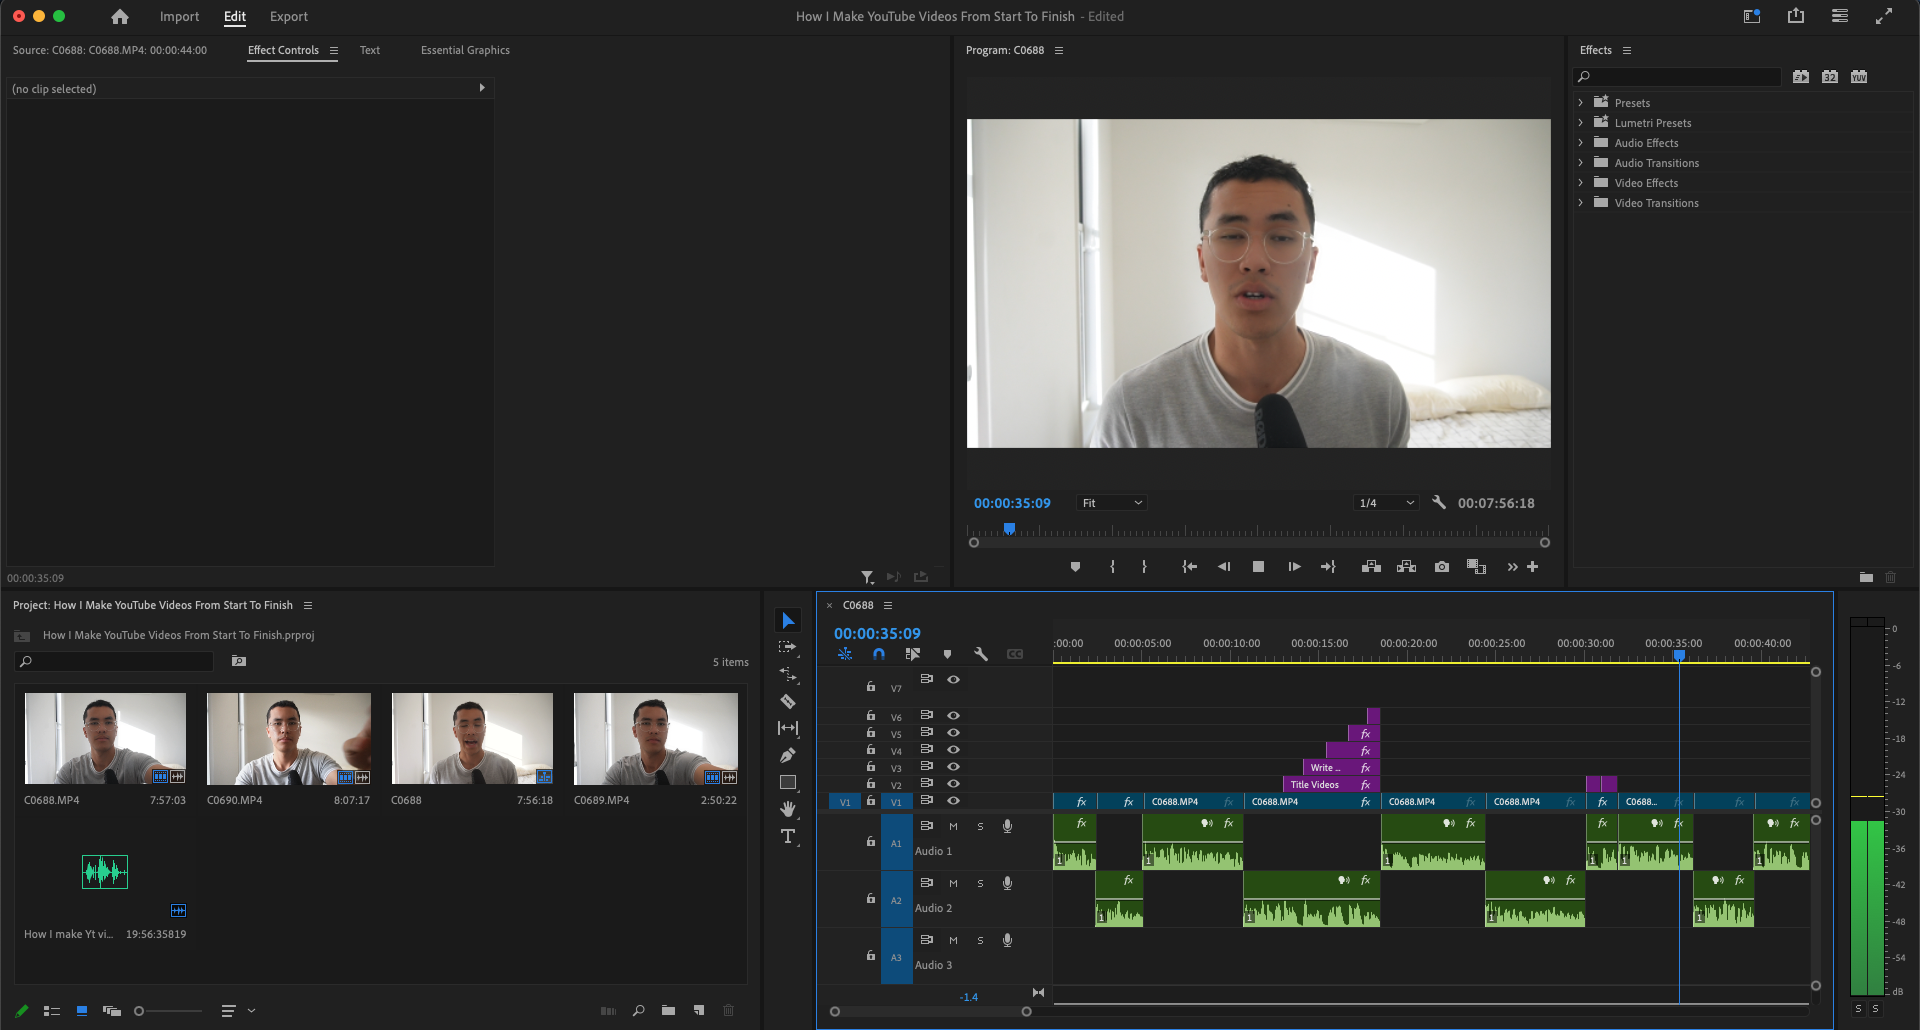
Step #5: Edit Video
Before I used Wondershare Filmora for video editing. At the time, the monthly Adobe payments were too expensive. So, I opted for a one time purchase of Filmora.
But now, I edit in Adobe Premiere Pro.
I won't go into the nitty gritty of 'how to edit youtube videos'.
I'll tell you how I structure my edits.
My Editing Style
Because I'm more educational, I edit the like if I was presenting in front of a class.
If you try to over edit, it'll be a distraction for my viewer as they cannot pay attention to the content. Overediting is more akin to entertainment content.
So, within the first 30 seconds, I'll preview the sections I'll cover in a video using on-screen text.
To make the text pop out, I'll use 50% opacity on the video. You can still see me talk, but the text is more important.
And for each new section on a new topic, I will do the same edit.
Other than that, I cut out any silence that isn't for effect. Viewers tend to disengage if you're not constantly talking.
If you don't value their time by cutting out silence, they won't give their valuable attention to your video.
Step #6: Creating The Thumbnail
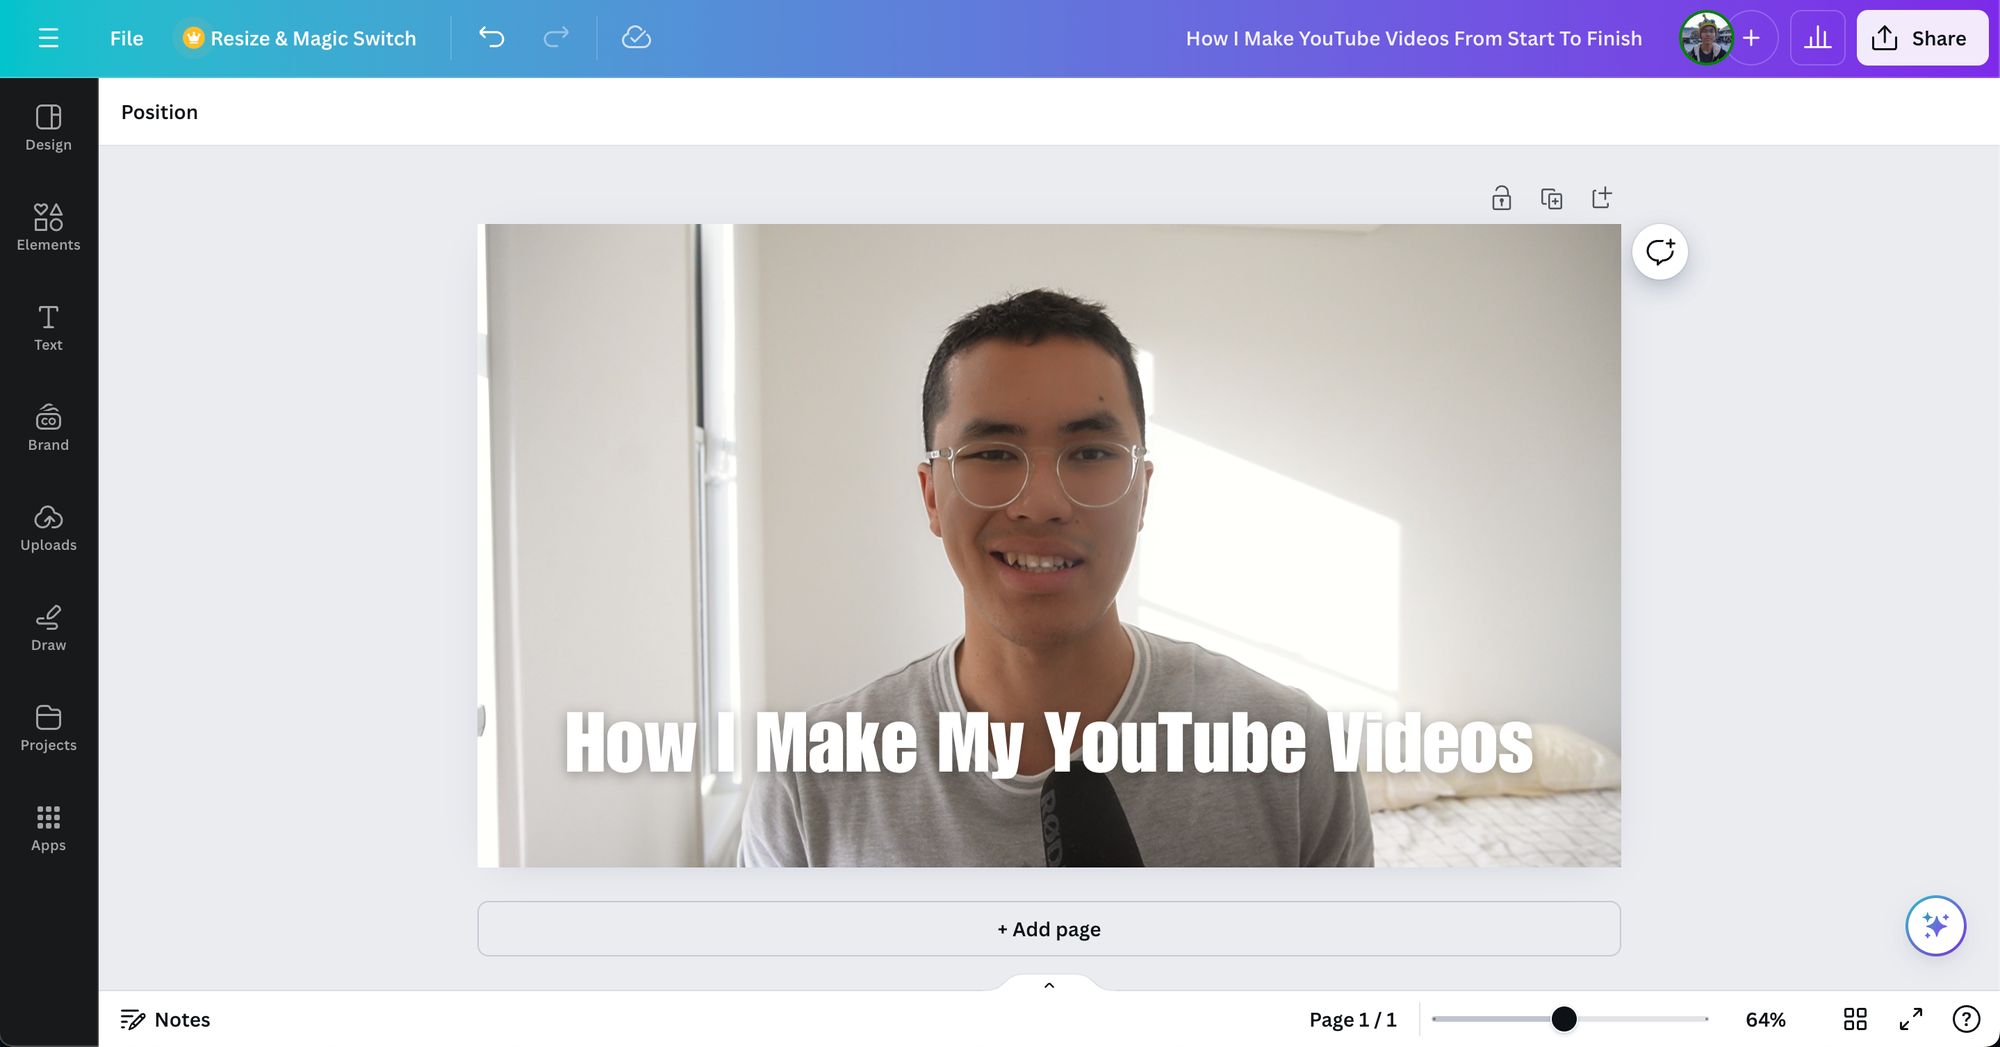
I use Canva and an image from the video itself.
Why do I use a frame from the video?
It's about congruency. That same idea of 'what you click is what you get'. It doesn't make sense to have the thumbnail with me in a suit and the video shows me in a t-shirt.
That will put the viewer off and click off.
In an age of faceless and AI YouTubers, if people can see a real person in the thumbnail, they're more likely to click.
You want to attract an audience that can associate the value you provide with a human face.
(Well... that's at least what I think.)
Also, I try integrating text in the thumbnail. Usually, this text supports what the title says. The viewer gets multiple confirmations about the video delivering on its promises.
Because, there are two things that will make people click: the title and thumbnail.
If you can make it clear as day what the video is about, you will attract the right audiences: viewers who will get the most value out of your videos.
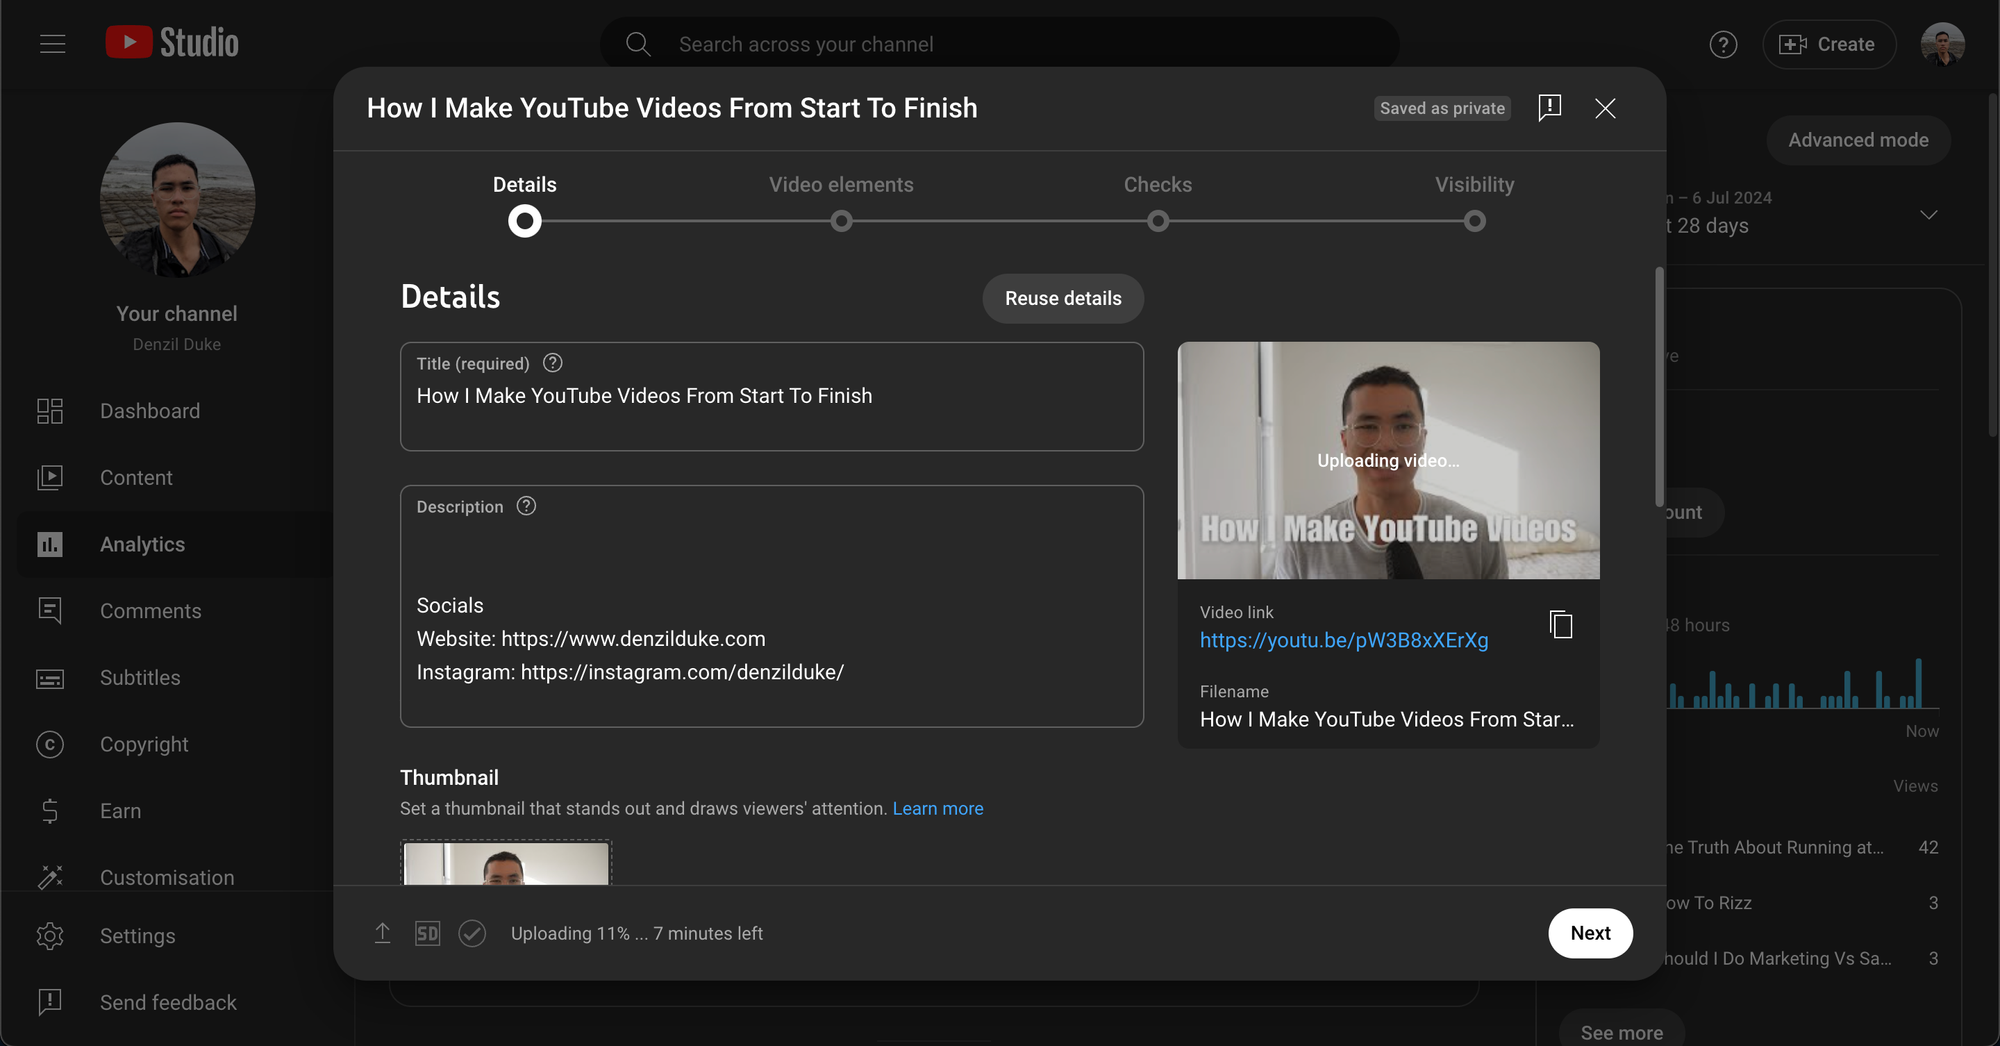
Step #7: Post
This is probably the easiest step.
I upload the night before on YouTube Creator Studio, and schedule it for 6AM AEST every Monday.
In the description, I'll write what the video is about. There are some people who like reading the description to get a better idea of the video. So, I try catering to them by, again, confirming what the video is about.
Bringing It All Together
Now, you know how I make my YouTube videos from start to finish. To give it to you in a nice list:
- Write the video title
- Write the script
- Edit the script
- Record the video
- Edit the video
- Create the thumbnail
- Post
That's my work flow.